Enrich your CRM Data with Excel
Update Dynamics 365 for Sales data with Microsoft Excel
Using Microsoft Dynamics 365 (CRM) you can easily update CRM records (Account, Contact, etc.) using Excel. Modifications can be made if the record being updated has not been modified between your change and the re-imported data. Similar to the bulk edit function in advanced finds, this method allows you to update multiple records at once. In contrast to the bulk edit function, you can modify more than the 250 record max in the advanced find. The following steps will save you a lot of time if you need to update many records at once.
Procedure:
Let’s use the example that you want to update the Industry field for a list of Account records:
1. For the Entity to modify (Account in this instance), open Advanced Find

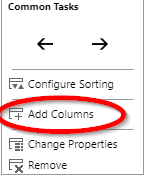
2. Create a view adding the column for the fields that you want to modify:
a. Within the Advanced Find form click the New icon then → in the Look for: field click the down arrow and choose Accounts → and then click the Edit Columns icon
b. Within the Edit Columns form
c. Select the Industry field and click OK
3. For this post, we will assume you will be updating the Industry field for all Accounts, so just click the Results Icon and your View will be created.
NOTE: If needed, you may want to only update records based on a condition, in which case you will need to create a custom View (we will talk about creating a custom view a separate post).


4. Now that you have your View of Account records, you will export these records from the View to Excel by going to Export Accounts and choosing Static Worksheet.


5. In the XLS file created from the export, modify the Industry field for the Accounts you wish to update (notice since Industry is an Option Set, the values have been exported to the worksheet)
Note:
DO NOT CHANGE THE STRUCTURE OF THE FILE (NO NEW COLUMNS, ROWS, DELETION OF COLUMNS, ROWS, ETC.). Especially relevant, notice that columns A – C are hidden in the worksheet; these are the unique fields needed to re-import your updates.
6. Save your Excel file changes to a location on your computer that you can access
7. Go back to CRM → Close the Advanced Find form → Go to the Account List View and → click the IMPORT DATA icon
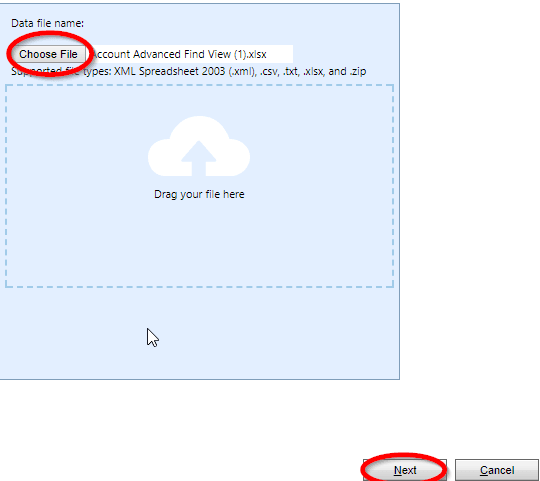
8. Choose the XLS file you modified and Click Next
9. Check the settings on the “Review Settings and Import Data” page and make changes as necessary
10. Click Submit
11. Wait for the import to complete and review for accuracy
12. You now have your Industry field updated for the Account records you have chosen.
Note:
Records in the import will fail if the record you are updating have been modified in-between your export, change and re-import. This limits overwriting a change a user has made while you are modifying the records. Consequently, you should consider completing this step on off hours or in limited batches.
Learn more about Microsoft D365
 Learn More

